Blending Softness and Detail: How to Elevate Watercolor with Colored Pencils
Watercolor painting is beloved for its transparency, fluidity, and the way pigments seem to dance on the paper. Yet, as any artist knows, watercolor can sometimes leave you wishing for a bit more precision — a sharper edge, a crisp texture, or a pop of contrast that just won’t come from the brush alone. That’s where colored pencils step in as your perfect artistic partner.
Blending watercolor and colored pencils creates a best-of-both-worlds technique — the ethereal softness of watercolor meets the precision and structure of pencil. When combined skillfully, the result is a piece with depth, luminosity, and striking detail. Let’s explore how to elevate your watercolor paintings with colored pencils and unlock new creative possibilities.
Why Combine Watercolor and Colored Pencil?
At first glance, watercolor and colored pencil may seem like opposites. Watercolor is fluid, unpredictable, and spontaneous, while colored pencil is dry, deliberate, and exact. But it’s precisely this contrast that makes them so harmonious together.
Here’s what makes the combination magical:
Balance of Softness and Precision: Watercolor lays down soft washes and mood, while pencils sharpen forms and details.
Enhanced Texture and Depth: Pencils can add layers, shadows, and highlights that watercolor alone can’t achieve.
Control Over Composition: Once watercolor dries, colored pencils give you control to define and refine areas without disturbing underlying color.
Versatility Across Styles: Whether you favor realism or expressive abstraction, this combo adapts beautifully.
When done right, your artwork takes on a richness that feels multidimensional — the loose charm of watercolor grounded by the fine detail of pencil.
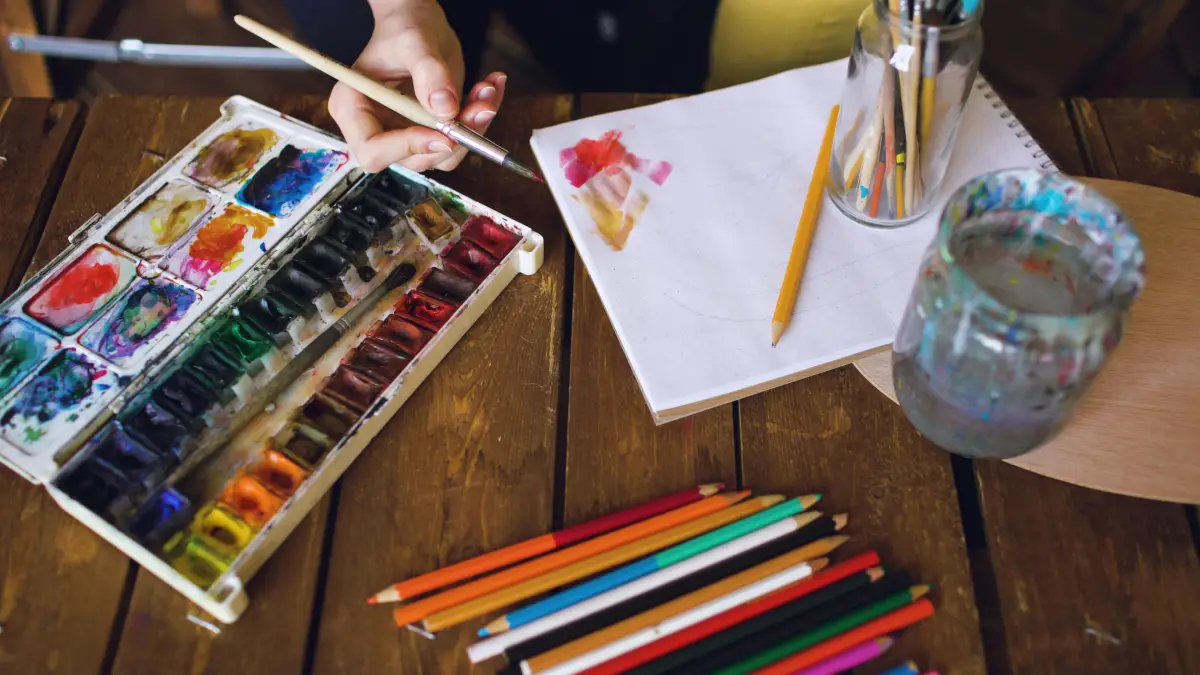
Choosing the Right Materials
The materials you use will make or break your success with this technique. Here’s a breakdown of what to look for:
You need sturdy, textured watercolor paper — typically 140 lb (300 gsm) or heavier. Cold-press paper is ideal because it provides both tooth for colored pencil and texture for watercolor washes. Hot-press paper, being smoother, allows for finer pencil work but can buckle under heavy washes if not stretched properly.
Use artist-grade watercolors for rich pigmentation and transparency. The idea is to let light reflect through the color layers, so vibrant yet delicate hues work best. Avoid overly opaque paints since they can limit the luminosity of your final layers.
Opt for wax-based or oil-based artist-grade pencils (like Prismacolor, Faber-Castell Polychromos, or Derwent Lightfast). They glide smoothly over dried watercolor and offer excellent blending. Avoid cheap pencils, which can scratch your surface or leave uneven color.
A variety of round and flat brushes will give you versatility. Keep a kneaded eraser handy for lifting graphite or excess pencil pigment without damaging the paper’s surface.
Step-by-Step: How to Combine Watercolor and Colored Pencil
Let’s walk through the process, from initial sketch to finishing touches.
1. Plan Your Composition
Before you begin painting, lightly sketch your design with a graphite pencil. Keep lines minimal and soft — heavy marks can show through translucent watercolor. If you prefer, use a light watercolor pencil for sketching, which will blend into the washes later.
2. Lay Down Your Watercolor Washes
Start with the watercolor layer. Focus on building atmosphere, value, and large shapes rather than details. Use wet-on-wet techniques for dreamy backgrounds and wet-on-dry for more control. Allow colors to mix naturally and don’t overwork the paint — remember, you’ll refine things later with pencils.
Once your washes are complete, let the painting dry completely. This step is crucial. Applying colored pencils over damp paper can damage both the surface and your pencils.
3. Add Depth and Detail with Colored Pencils
Now comes the transformation. Use your colored pencils to bring definition and nuance to the piece. Think of this stage as “sculpting” your watercolor.
Enhance Shadows: Deepen values by layering complementary pencil tones in darker areas.
Refine Edges: Sharpen contours or define focal points like petals, feathers, or eyes.
Add Texture: Light, directional strokes can mimic hair, bark, fabric weave, or texture in architecture.
Highlight and Contrast: Use lighter pencils or even white for highlights, or burnish with a colorless blender to polish certain areas.
Work gradually — colored pencils are slow to build but rewarding. Use light pressure at first; you can always add intensity.
Once you’re comfortable with the basics, explore different artistic directions:
Botanical Studies: Watercolor gives petals life, while pencils define veins and texture.
Portraits: Use watercolor for soft skin tones and pencils for expressive eyes or hair.
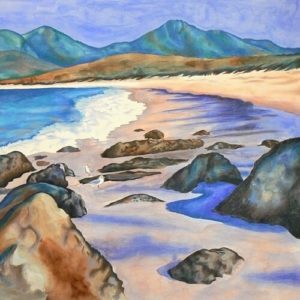
Landscapes: Let watercolor capture atmosphere and light; add pencil detail to foliage or architecture.
Abstracts: Experiment with pencil mark-making over fluid washes for dynamic contrast.
Final Thoughts
Blending watercolor and colored pencil isn’t about mastering two techniques — it’s about merging two artistic languages. Watercolor speaks in whispers of color and light; colored pencils answer in crisp, articulate detail. When they meet on the page, your art becomes both poetic and precise.
With patience and experimentation, you’ll find your rhythm between the two. The softness of watercolor will breathe life into your compositions, and the strength of colored pencil will anchor them in clarity. Together, they create a harmony that’s as visually striking as it is deeply satisfying to make.
So next time you pick up your brush, keep a few colored pencils nearby. You might just find your new favorite way to paint.
*Some links on this page are affiliate links. I use Blick Art Materials and I’m a Blick Art Materials affiliate, which means I may earn a small commission if you make a purchase—at no extra cost to you. -Thanks so much for your support.
")