Bringing Color to Life: How to Create Vibrant Art with Colored Pencils
Bringing Color to Life: How to Create Vibrant Art with Colored Pencils
Colored pencils may seem simple—tools we all used as children—but in the hands of an artist, they can create luminous, detailed, and richly textured works of art. Whether you’re sketching in your free time or dreaming of gallery-worthy pieces, colored pencils are an approachable yet powerful medium that can truly bring your art to life.
This beginner-friendly guide will walk you through the basics of creating vibrant artwork with colored pencils: from choosing your materials to layering, blending, and making your colors shine.
Why Choose Colored Pencils?
Colored pencils are portable, affordable, and easy to use. You don’t need a studio space or messy supplies—just a set of pencils, some paper, and your imagination. What makes them even more exciting is their versatility: you can create soft, subtle drawings or bold, striking pieces.
Unlike paints, which can feel intimidating with mixing and brushes, colored pencils give you complete control. You can build color slowly, experiment without fear, and even erase small mistakes. For beginners, they’re one of the best mediums to explore.
Step 1: Choosing the Right Materials
While you can start with any colored pencils, a good-quality set makes a big difference. Here’s what to consider:
Student vs. Artist Grade: Student-grade pencils are affordable but may have less pigment and more waxy binders, making it harder to achieve vibrant results. Artist-grade pencils(like Prismacolor, Faber-Castell, or Derwent) have richer pigments and smoother application.
Paper Matters: Smooth paper allows for fine details, while textured paper holds more layers of pigment for richer blending. Try different papers to see what feels best for your style.
Extras to Have Handy: A good sharpener, an eraser (preferably a kneaded eraser for gentle lifting), and perhaps a blending tool like a colorless blender pencil or even cotton swabs for smoothing transitions.
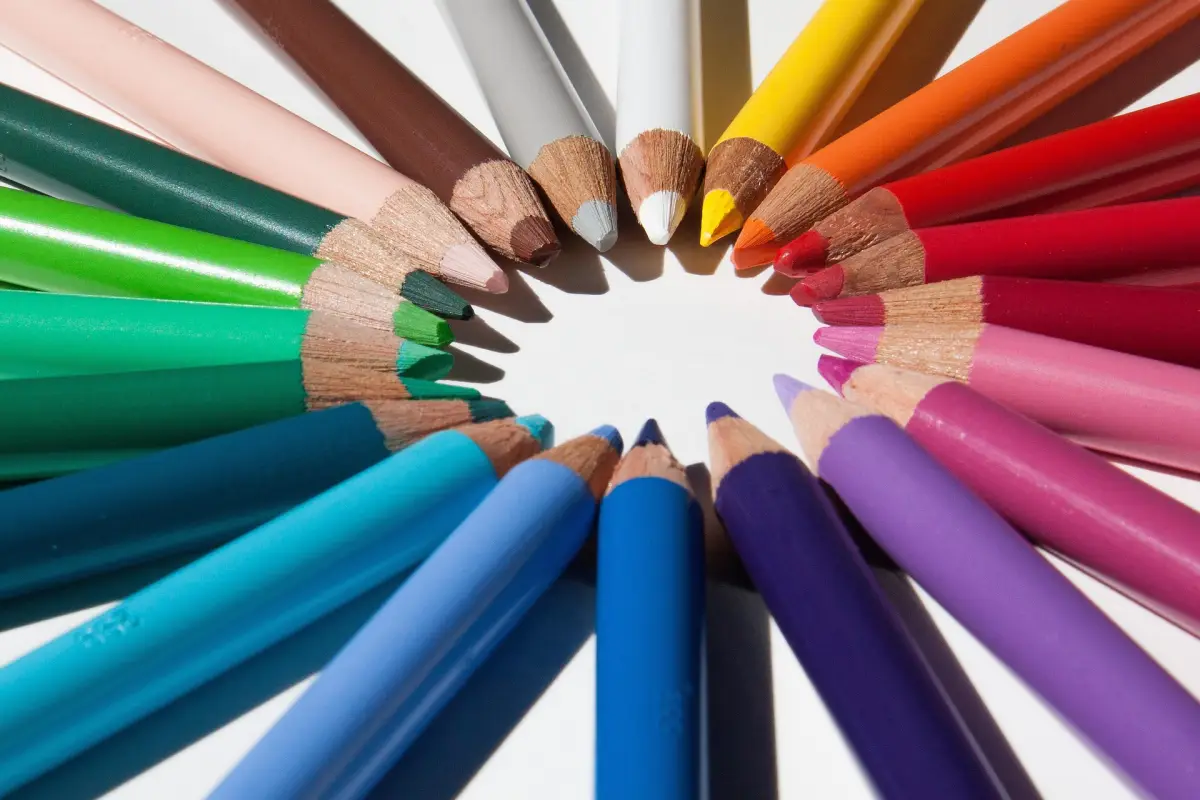
Step 2: Understanding Color Basics
Before diving in, it helps to know a bit about color theory.
Primary Colors: Red, blue, yellow.
Secondary Colors: Mixing primaries creates orange, green, and purple.
Complementary Colors: Opposites on the color wheel (like red and green, blue and orange). Using them together creates contrast and vibrancy.
If you want your drawing to pop, experiment with complementary colors—like using a touch of orange in the shadow of a blue object.
One of the biggest mistakes beginners make is pressing too hard. With colored pencils, gentle layering is the secret. Start with light strokes and gradually build up color. This technique allows you to blend smoothly and avoid waxy buildup that can make the paper shiny and difficult to work with.
Think of it like painting in thin washes: each layer adds richness and depth.
Step 4: Blending Techniques
To bring your artwork to life, you’ll need to blend colors together smoothly. Here are a few easy methods:
Layering: Apply multiple layers of different colors, letting them overlap gradually. For example, blend blue and yellow in soft strokes to create a natural-looking green.
Burnishing: Press harder with a light-colored pencil (like white or cream) over your layers to smooth and brighten them. This creates a polished look.
Colorless Blender: Some pencils are made just for blending—these are wax-based but have no pigment, so they push and mix colors without adding new ones.
Household Tools: Cotton swabs, tissues, or even a bit of baby oil on a cotton bud can create soft blends (though test first to avoid paper damage).
Vibrant art isn’t just about bright colors—it’s about contrast and shading. To make your drawings look realistic and full of life:
Use a Range of Values: Don’t rely on one color alone. Add darker shades for shadows and lighter ones for highlights.
Layer Multiple Colors: Shadows aren’t just black or gray. For example, a red apple may have shadows with purples, blues, or browns mixed in.
Highlight with White (or Paper): Sometimes the brightest highlight is just the untouched paper shining through. Resist the urge to color everything!
Step 6: Practice with Simple Projects
If you’re just getting started, don’t overwhelm yourself with complex subjects. Try small exercises:
Color Swatches: Test how colors layer and blend.
Fruit Studies: Apples, bananas, or grapes are great practice for shading and blending.
Nature Sketches: Flowers and leaves help you explore layering and color mixing.
The more you experiment, the more confidence you’ll build.
Step 7: Bringing Your Own Style to Life
Colored pencil art doesn’t have to be ultra-realistic. Some artists prefer a sketchy, expressive look with visible strokes. Others aim for photorealism. Neither is “right” or “wrong.”
Ask yourself: Do you enjoy crisp detail or loose energy? Do you want your colors to pop with intensity, or do you like soft, dreamy transitions? By experimenting, you’ll naturally find the style that feels most like you.
Colored pencils are more than just childhood tools—they’re a gateway to vibrant, expressive art that anyone can learn to create. With a little patience, layering, and experimentation, you’ll be amazed at the depth, richness, and energy you can capture.
So pick up your pencils, choose a subject that excites you, and start bringing your world to life in color. Every stroke is a step forward in your creative journey.
*Some links on this page are affiliate links. I’m a Blick Art Materials affiliate, which means I may earn a small commission if you make a purchase—at no extra cost to you. Thanks so much for your support.