Layer, Blend, Shine: Mastering the Art of Colored Pencil Creations
Layer, Blend, Shine: Mastering the Art of Colored Pencil Creations
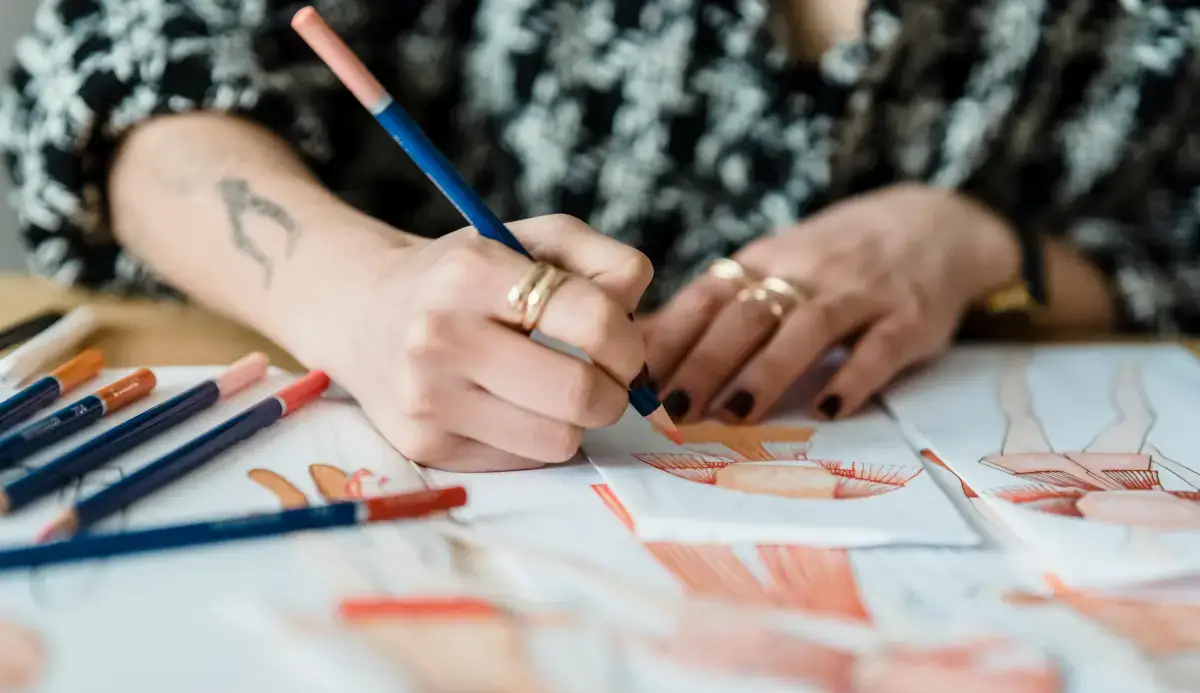
Colored pencils might seem simple—tools we all used in school to fill in coloring books. But in the hands of an artist, they transform into powerful instruments capable of producing rich, vibrant, and realistic works of art. Whether you’re sketching for fun, creating fine art pieces, or just starting out with creative hobbies, learning how to layer, blend, and bring out the shine in your colored pencil art can elevate your work from flat to fantastic.
This guide will walk you through the beginner-friendly techniques you need to create stunning colored pencil creations, with easy-to-follow tips and plenty of encouragement.
Why Choose Colored Pencils?
Colored pencils are affordable, accessible, and versatile. You don’t need a big studio or messy paints—just a good set of pencils, some paper, and your creativity. They allow for precision, control, and portability, which makes them perfect for artists of all levels.
Most importantly, colored pencils teach patience and the joy of building artwork gradually. Each stroke matters, and as you layer colors, you’ll see depth and vibrancy emerge.
The Three Pillars: Layer, Blend, Shine
The title of this article highlights the three essentials of colored pencil mastery:
Layer – Building depth and richness through multiple applications of color.
Blend – Creating smooth transitions and lifelike effects by combining colors.
Shine – Adding finishing touches and highlights to make your art pop.
Let’s break these down into simple, practical steps you can use right away.
When you first lay down pencil marks, they may look a bit scratchy or uneven. That’s completely normal! Layering solves this by gradually stacking color to create smoothness and depth.
Beginner Tips for Layering:
Start Light: Begin with soft pressure and light strokes. This allows you to build up gradually without damaging your paper.
Use Multiple Passes: Instead of pressing hard for bold color, layer lighter strokes repeatedly. This creates a richer effect without waxy buildup.
Vary the Direction: Switch up the direction of your strokes—horizontal, vertical, diagonal—to cover the paper’s texture evenly.
Color Families Matter: Try layering shades within the same family (like light blue over darker blue) to enhance depth.
Practice Exercise: Take a single shape, like a circle, and color it with just one pencil. First, apply a very light layer. Then, go back over it 5–6 times, gradually darkening. Notice how the color becomes fuller and more dimensional.
Blending is where the magic happens—it turns separate strokes into seamless tones. Think of it as teaching your colors to “get along.”
Ways to Blend Colored Pencils:
Dry Blending (Pencil-on-Pencil): Simply layer multiple colors over one another. For example, try blending blue into green to create a turquoise tone.
Burnishing: Use a white or colorless blender pencil to press down and smooth the pigment. This technique creates a polished, almost painterly look.
Layering Opposites: Experiment with blending contrasting colors (like blue and orange) to create subtle shadows or toned-down hues.
Solvent Blending (Optional Advanced Step): With the right paper, you can use odorless mineral spirits or blending markers to dissolve and spread pigment. This gives a watercolor-like effect.
Beginner-Friendly Blending Exercise: Draw a simple gradient bar. Start with yellow on one side, red on the other, and blend them toward the center. You’ll see an orange transition emerge. This is a great way to practice smooth blending.
3. Shine: Adding Highlights and Depth
Shine is about the finishing touches—the little details that make your artwork come alive. Without highlights and shadows, art can look flat.
How to Add Shine:
Leave White Spaces: Don’t color everything solidly. Allow some areas of paper to peek through for highlights.
Use a White Pencil: Layering white over lighter areas can soften and brighten colors.
Add Sparkle with Gel Pens or White Ink: A tiny dot of white gel pen can mimic reflections in eyes, water, or glass.
Contrast is Key: Pairing deep shadows with highlights makes the bright spots shine even more.
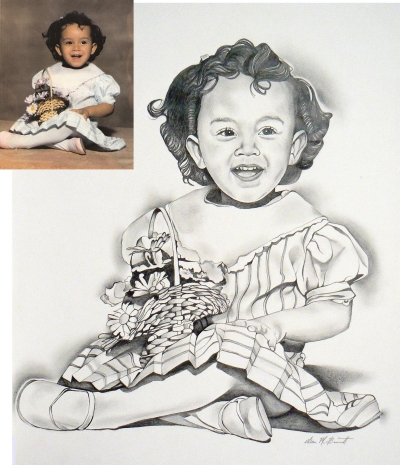
Shine Exercise: Draw a simple apple. Color it with red pencils, but leave a curved white highlight where the light would naturally hit. Add darker reds or even a touch of purple in the shaded areas. Suddenly, your apple looks round and realistic!
You don’t need the most expensive supplies to create beautiful colored pencil art. But the right materials can make a big difference.
Pencils: Prismacolor, Faber-Castell Polychromos, or even budget-friendly Crayola can work for beginners.
Paper: Choose paper with some tooth (texture), like Bristol or drawing paper, so it can hold multiple layers.
Blenders: A colorless blender pencil or a simple white pencil is a handy tool for polishing your work.
Extras: Erasers (especially kneaded erasers) are helpful for lifting color and creating highlights.
Mindset: Patience and Play
Mastering colored pencils isn’t about rushing—it’s about layering, blending, and experimenting. Don’t be afraid to make mistakes; every piece teaches you something new.
Try small projects first, like drawing fruit, leaves, or simple still life objects. Focus on practicing one technique at a time instead of trying to perfect everything at once.
And most importantly—enjoy the process. Colored pencils invite you to slow down, relax, and watch the magic happen stroke by stroke.
Once you’ve practiced the basics, challenge yourself with these beginner projects:
A Realistic Fruit Bowl – Perfect for practicing layering and highlights.
A Landscape Sky – Great for blending gradients of blue, pink, and purple.
Animal Eyes – Small, focused studies that teach shine and detail.
Over time, your confidence will grow, and your work will begin to glow with life.
Final Thoughts
Colored pencils are more than just childhood art supplies—they’re powerful tools for creating vibrant, detailed, and professional-quality artwork. By mastering the essentials of layering, blending, and adding shine, you’ll open the door to endless creative possibilities.
So grab your pencils, choose a subject that excites you, and let the colors flow. Remember: patience builds beauty, and every layer brings your art closer to life.
*Some links on this page are affiliate links. I’m a Blick Art Materials affiliate, which means I may earn a small commission if you make a purchase—at no extra cost to you. Thanks so much for your support.