Layers of Expression — Creating Mixed Media Art with Watercolor and Colored Pencils
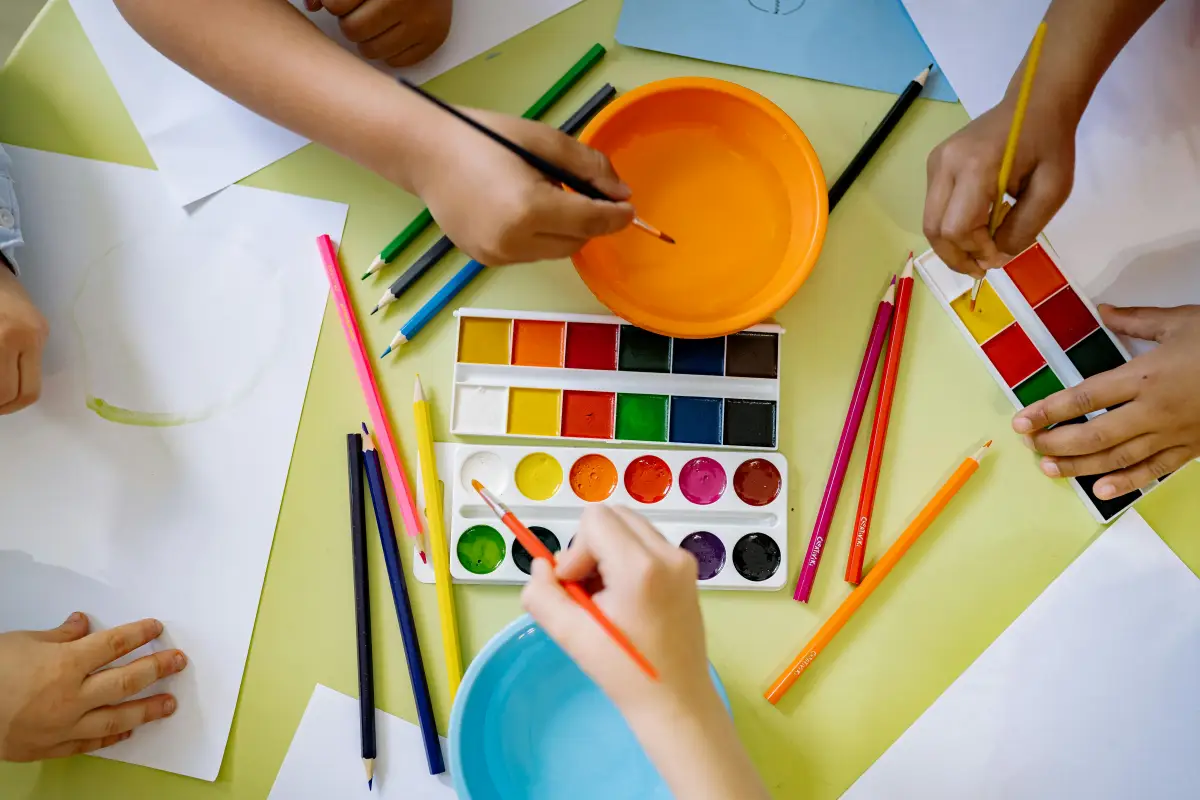
Art is all about experimentation — exploring how materials interact, how colors blend, and how layers can tell a story. If you’ve ever admired artwork that seems to glow with color and texture, you might be looking at a mixed media piece. One of the most beginner-friendly and beautiful combinations is watercolor and colored pencil.
Together, these two mediums offer a balance of fluidity and control — the expressive washes of watercolor with the precision and texture of pencil. Whether you’re a hobbyist, a student, or someone just dipping your toes into art, this pairing is a perfect way to expand your creative toolkit.
Let’s explore how to get started and make your own layered masterpiece.
1. Why Combine Watercolor and Colored Pencils?
Each medium has its strengths:
Watercolor gives soft gradients, transparency, and a sense of atmosphere.
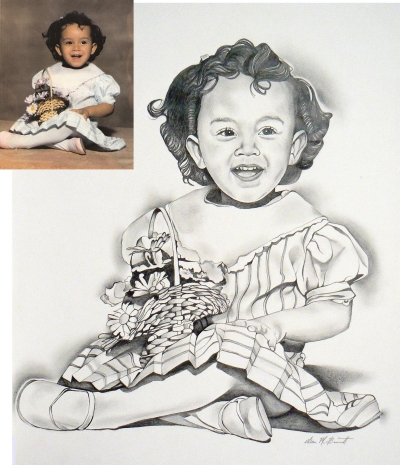
When used together, watercolor forms the base — setting the tone and flow — while colored pencils add structure and refinement. Think of it like building a story: watercolor creates the mood, and pencil brings the characters to life.
Bonus: This combo works on a variety of subjects — from botanical illustrations to portraits, landscapes, or even abstract designs.
2. Gathering Your Materials
You don’t need professional-grade tools to start. Here’s a simple beginner’s checklist:
Essentials:
Watercolor paints: A small set of pans or tubes works fine. Focus on primary colors (red, blue, yellow) plus a few favorites.
Brushes: One round brush (size 6–8) and one fine detail brush (size 2) will do for most pieces.
Colored pencils: Look for artist-grade pencils like Prismacolor, Faber-Castell Polychromos, or Derwent Coloursoft. They have softer cores that layer beautifully.
Paper: Use watercolor paper — at least 140 lb (300 gsm). It’s sturdy enough for wet washes and won’t buckle easily.
Extras: A cup of water, paper towel, and a palette or plate for mixing.
Optional but helpful:
Masking tape (to tape your paper edges and reduce warping)
Before you start painting, sketch lightly. A simple outline helps guide your composition. If you’re unsure, use a reference photo — flowers, fruit, or small everyday objects are great starting points.
Remember: watercolor is transparent. You’ll want your pencil marks to be light and minimal so they don’t show through the paint too strongly.
Ask yourself:
What areas will have the lightest colors?
Where do you want detail versus softness?
Do you want a realistic or expressive look?
Having a rough plan will make layering easier later.
4. Start with Watercolor: Building the Foundation
Think of watercolor as your first layer — the emotional background.
Steps:
Activate your paints with a few drops of water.
Lay down light washes. Begin with the palest areas and slowly build darker tones.
Let it flow. Watercolor thrives on movement — tilt your paper, experiment with blending.
Let it dry completely. This is key! Colored pencils don’t grip well on wet or damp surfaces.
As you work, keep your strokes loose. Don’t worry about perfection — watercolor’s beauty comes from its unpredictability. Allow blooms, drips, or textures to appear naturally.
Pro tip: If your paper warps, tape it down before painting or place it under a few heavy books once dry.
Problem: The paper buckles too much. Fix: Use heavier watercolor paper or tape it securely before painting.
Problem: Pencils won’t show up on top of watercolor. Fix: Make sure your paint is completely dry, and use soft-core colored pencils with more pigment.
Problem: The watercolor looks muddy. Fix: Use fewer layers of overlapping complementary colors (like red and green). Let layers dry before applying new ones.
Problem: Unsure when to stop adding details. Fix: Try the “mirror test” — look at your piece in a mirror or phone photo. If it feels balanced, you’re done!
9. Embracing the Process
The best part of mixed media art is the freedom it offers. There’s no strict formula — every layer, mistake, or happy accident becomes part of your unique style.
Start small: create postcard-sized pieces, or fill a sketchbook page experimenting with color combinations. Over time, you’ll discover your personal rhythm between the fluid and the precise.
Art isn’t about perfect results — it’s about curiosity, expression, and play.
So grab your brushes and pencils, and start layering your story — one color at a time.
Final Thoughts
Watercolor and colored pencil art captures the best of both worlds: the softness of paint and the structure of drawing. It’s forgiving, approachable, and endlessly customizable — perfect for artists who want to explore without limits.
Once you’ve mastered the basics, you can experiment with adding ink, pastel, or even collage for deeper mixed media adventures.
Your next masterpiece might just be one layer away.
*Some links on this page are affiliate links. I use Blick Art Materials and I’m a Blick Art Materials affiliate, which means I may earn a small commission if you make a purchase—at no extra cost to you. Thanks so much for your support.